Basic Procedure
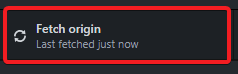
Pull First
Get into the habit of fetching and pulling first! Fetching and pulling is the process of grabbing any code changes that exist on GitHub that are not currently in your local repository. If you continue to branch and make changes to outdated or potentially modified code you may end up finding yourself in a world where you are dealing with unneccessary code conflcits down the line. You can fetch and pull by clicking the fetch button in the GitHub desktop app.
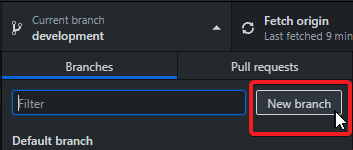
Create a Branch
When working on an edit or new feature you should always create a new branch first.
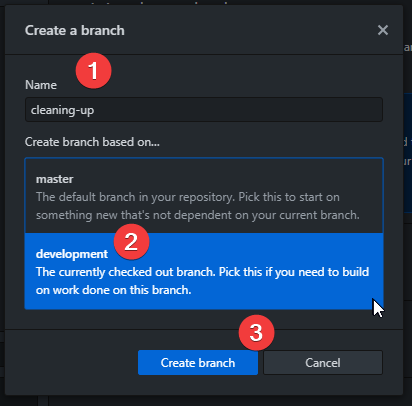
Give your branch a name, and select an existing branch to work from.
Commit Often
Go ahead and open Intersect.sln and start coding! Try to split your code changes into small groups. After each step you should commit your changes to your branch.
It’s good practice to commit early, and commit often. Smaller commits are easier for developers to review and they are easier for Git to automatically merge without conflicts later.
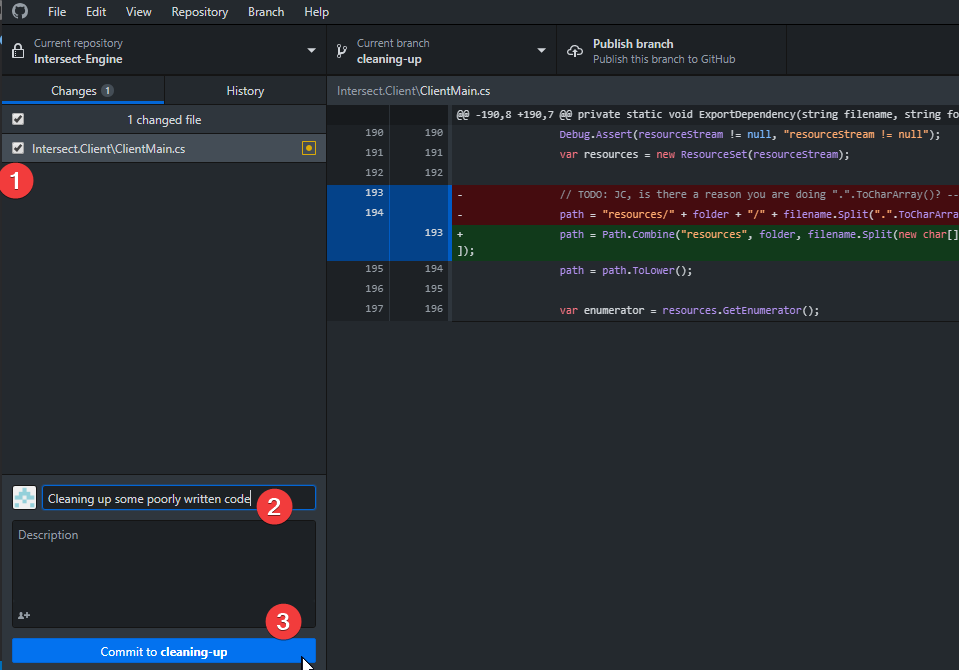
After you’ve made code changes open the GitHub Desktop app again, make sure you’re on the correct branch, select the files you’d like to commit, provide a short description, and click commit to branch.
Repeat to the coding and committing process until you’ve accomplished your task and are ready to merge your changes back into the base branch.
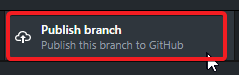
Finally Push
Nothing is worse than losing work. By pushing you send your modifications to GitHub so they are safely stored in the cloud. If you’re working within a team pushing allows them to receive your code changes so they are less likely to run into conflicts by working on outdated code.